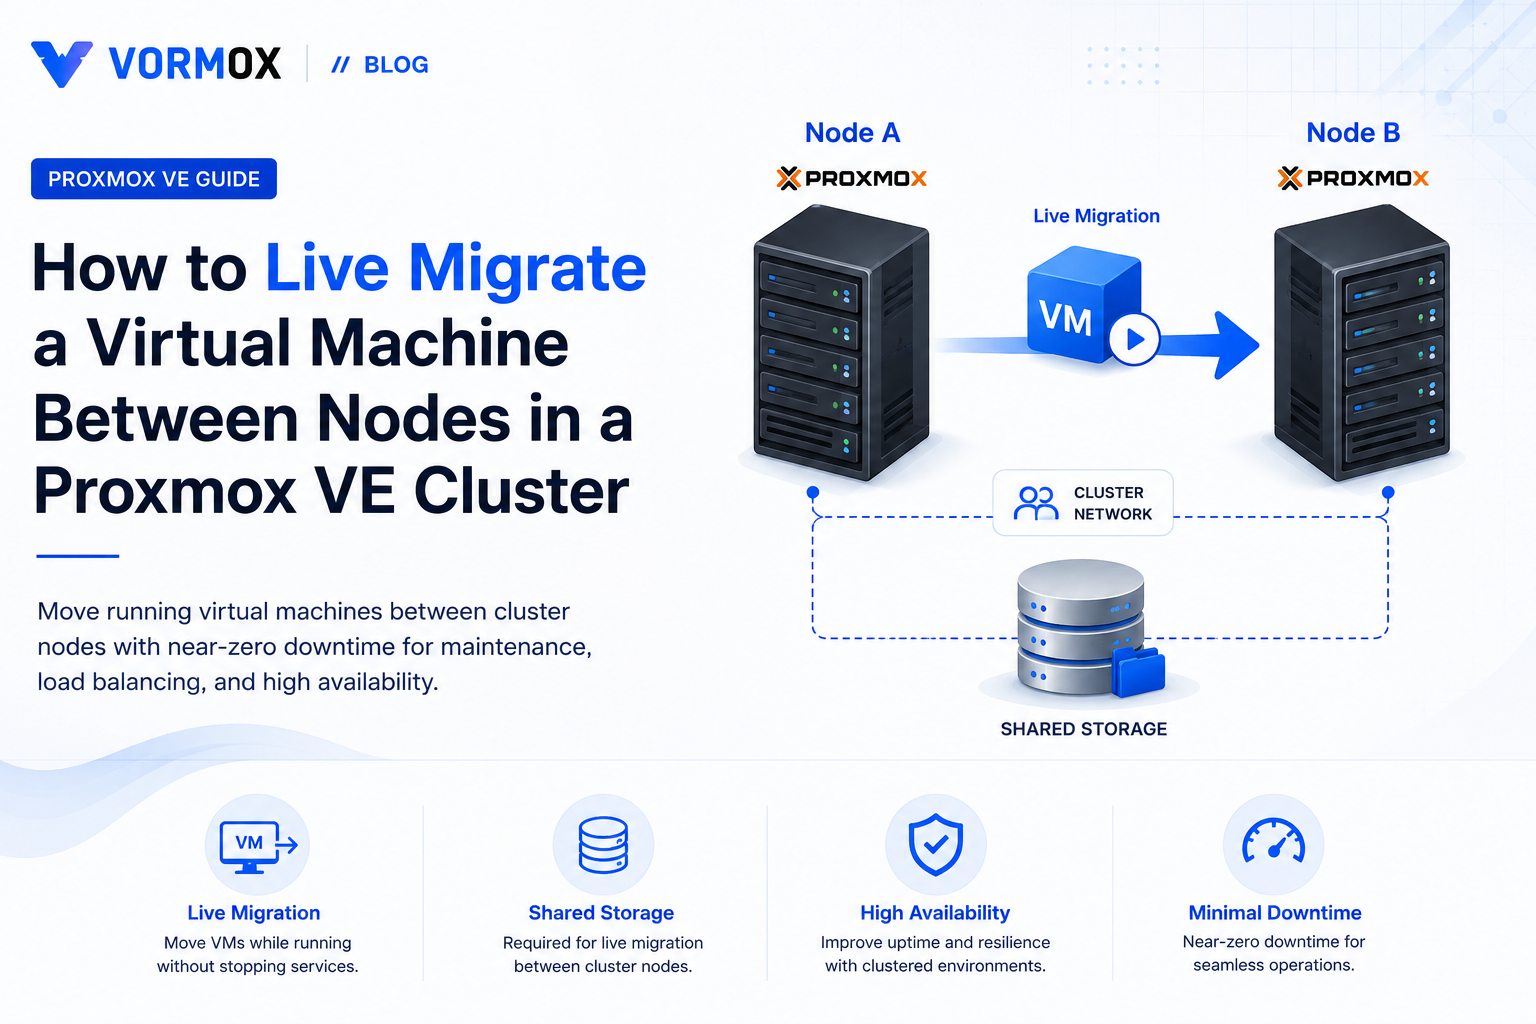
Moving a running virtual machine off a node without shutting it down is one of the most useful capabilities a Proxmox VE cluster gives you. Whether you're pulling a node out for hardware maintenance, rebalancing load across your cluster, or evacuating a host before a firmware update, live migration lets you relocate a VM's memory and CPU state — and in many cases its disks too — to another node while it keeps serving traffic.
This guide walks through exactly how live migration works in Proxmox VE, what has to be true about your cluster before it will work, and how to run migrations from both the web UI and the command line. It also covers migrating LXC containers, handling local (non-shared) storage, and the errors you're most likely to run into.
What Live Migration Actually Does
When you migrate a running VM, Proxmox VE (built on QEMU/KVM) doesn't just copy a file and restart it. It performs a coordinated handoff:
- A new, paused QEMU process is started on the target node with the same VM configuration.
- The source node begins streaming the VM's RAM contents to the target over the network.
- Because the VM is still running on the source, some memory pages change ("go dirty") while the transfer is in progress. QEMU re-sends those dirty pages in successive passes.
- Once the remaining dirty set is small enough to transfer almost instantly, Proxmox briefly pauses the source VM, sends the final state (registers, device state, remaining dirty pages), and resumes the VM on the target node.
- The source VM process is torn down and the VM's configuration file is moved to the target node.
That pause is typically well under a second on a healthy network, which is why this is called live migration rather than a simple stop-and-restart. The user-visible interruption is a brief network hiccup, not a full reboot.
If the VM's disks live on shared storage (Ceph RBD, NFS, iSCSI, ZFS over iSCSI), only memory and CPU state need to move — the disk images are already visible from both nodes. If the disks live on local storage (local ZFS, local LVM-thin, or a local directory), Proxmox VE also performs live block mirroring: it streams the disk contents to the target node's local storage in parallel with the memory transfer, then converges before the final cutover. This works, but it's slower and puts more load on your network and the target node's disks than a shared-storage migration.
Prerequisites
Before attempting a live migration, confirm the following:
1. Both nodes must be in the same cluster
Live migration only works between nodes that belong to the same Proxmox VE cluster (visible under Datacenter → Cluster). A standalone node cannot live-migrate a VM to another standalone node — that requires an offline export/import instead.
2. Network connectivity and bandwidth
Every node needs a reliable, low-latency connection to every other node. For anything beyond light lab use, dedicate a separate network (10 GbE or better) for migration and cluster traffic rather than sharing it with VM-facing networks. You configure which network migration traffic uses under Datacenter → Options → Migration Settings.
3. Matching or compatible CPU configuration
This is the single most common cause of migration failures in mixed-hardware clusters. If a VM is configured with CPU type: host, QEMU exposes the exact instruction set of the source CPU to the guest. If the target node's physical CPU doesn't support every one of those instruction set extensions, the migration — or the VM itself after migration — will fail.
For clusters with non-identical CPU generations, set the VM's CPU type to a portable baseline instead of host:
# Example: set a portable CPU type for VM 100
qm set 100 --cpu x86-64-v2-AES
Proxmox VE 8 and 9 ship several x86-64-v2/v3/v4 baseline CPU models specifically so you can pick "the newest common denominator" across your cluster's hardware instead of guessing with generic kvm64 or qemu64.
4. Storage availability
Every storage ID referenced by the VM's disks must either:
- be a shared storage defined identically on both nodes (same storage ID, marked "Shared" in Datacenter → Storage), or
- be local storage that Proxmox is allowed to mirror to an equivalent local storage on the target node (you'll pick the target storage explicitly during migration).
5. No exclusively local hardware attached
A few things block live migration outright, because they can't be represented on another physical host:
- PCI passthrough devices (GPUs, NICs passed through via VFIO)
- A CD-ROM drive pointed at an ISO stored on local storage (switch it to a shared storage location, or eject it, before migrating)
- USB devices passed through by physical port/bus ID
Migrating a VM from the Web UI
- In the Proxmox VE web interface, select the VM in the left-hand resource tree.
- Click Migrate in the top action bar.
- In the dialog, choose the Target node.
- Leave Online checked — this is what makes it a live migration rather than a suspend/restart migration. (Online migration is only offered when the VM is running.)
- If the VM has disks on local storage, you'll see an additional prompt to pick the target storage for each disk on the destination node.
- Click Migrate and watch the task log. You'll see phases for memory transfer, and, if applicable, disk mirroring, followed by a final short "switching over" step.
The task log will end with TASK OK on success. If it stalls for a long time on the memory transfer phase, that usually means the VM is generating dirty pages (writing to RAM) faster than your network can transfer them — see the troubleshooting section below.
Migrating a VM from the CLI
The qm migrate command gives you the same functionality with more explicit control, and is what you'll use in scripts or when automating node evacuation.
# Basic online migration to node pve2, using shared storage
qm migrate 100 pve2 --online

# Online migration with local disks, targeting a specific storage on pve2
qm migrate 100 pve2 --online --with-local-disks --targetstorage local-zfs

# Online migration with a bandwidth cap (in KiB/s) to avoid saturating the link
qm migrate 100 pve2 --online --bwlimit 50000
Key flags:
| Flag | Purpose |
|---|---|
--online | Perform a live migration instead of suspending the VM |
--with-local-disks | Required if the VM has disks on non-shared storage; enables live block mirroring |
--targetstorage | Destination storage ID for migrated local disks |
--bwlimit | Caps migration bandwidth in KiB/s, useful on shared/production links |
--force | Bypasses some safety checks (e.g. duplicate VMID); use with care |
You can follow migration progress in real time with:
qm status 100 --verboseor by tailing the task log directly if you kicked the migration off asynchronously:
pvesh get /cluster/tasksMigrating LXC Containers
Containers behave differently from VMs because they don't have a hypervisor-managed memory image the way QEMU does. Proxmox VE supports two migration modes for LXC:
- Restart mode (the default for "online" container migration): the container is cleanly stopped on the source, its filesystem is transferred, and it's started on the target. There's a real, if brief, downtime window — this is not truly "live" in the VM sense.
- Offline migration: the container is stopped first, then migrated, then you start it manually (or it stays stopped).
# Migrate container 200 to node pve3, using restart mode for minimal downtime
pct migrate 200 pve3 --restart

# Offline migration (container must already be stopped)
pct migrate 200 pve3
If your containers need true zero-downtime relocation, that's a VM-only capability — it's worth keeping that distinction in mind when deciding between LXC and a VM for latency-sensitive workloads.
Evacuating an Entire Node for Maintenance
When you need to take a node down for patching or hardware work, Proxmox VE 8+ provides a built-in maintenance workflow that live-migrates every running guest off the node automatically:
- In the web UI, select the node → click Bulk Migrate (or, for HA-managed guests, use Node → Maintenance Mode under recent Proxmox VE versions, which drains HA resources to other nodes automatically).
- Review the proposed target node for each guest — Proxmox will suggest targets based on available resources, but you can override any of them.
- Start the batch job and monitor each migration in the task log. Guests migrate sequentially or with limited parallelism depending on your bandwidth settings.
- Once the node reports no running guests, it's safe to shut down, patch, and reboot.
For HA-managed VMs specifically, entering maintenance mode also prevents the cluster's HA manager from trying to fence or restart guests elsewhere while you're intentionally moving them — always use the maintenance workflow rather than just yanking guests off an HA node by hand.
Troubleshooting Common Migration Errors
"can't migrate VM which uses local devices"
The VM has a PCI-passthrough device, a mapped USB device, or a local-only mount point attached. Detach the device (or set it up via a shared resource mapping, where supported) before migrating.
"storage 'X' is not available on node 'Y'"
The storage ID used by one of the VM's disks isn't defined on the target node at all. Add an equivalent storage definition on the target with the same storage ID, or specify a different --targetstorage explicitly.
"TASK ERROR: command … failed: exit code 255" during the final switchover
This usually points to an SSH or cluster-network connectivity issue between the two nodes at the moment of handoff. Check pvecm status on both nodes to confirm cluster quorum is healthy, and verify the nodes can reach each other over the configured migration network.
Migration seems to hang indefinitely in the memory-copy phase
This happens when the guest is dirtying memory pages faster than the migration link can transfer them — common with write-heavy in-memory workloads (databases, caches) over a slow or congested network. Options:
- Move migration traffic to a faster, dedicated NIC.
- Temporarily reduce load on the VM before migrating.
- As a last resort, Proxmox will auto-converge by throttling the guest's CPU to let the transfer catch up — if this triggers, you'll see the VM slow down noticeably during migration. This is expected behavior, not a bug.
VM boots but is unstable or crashes shortly after migrating
Classic symptom of a host CPU type migrated between two CPUs with different instruction sets. Shut the VM down once, change its CPU type to a portable model (e.g. x86-64-v3), and start it again — future migrations between mismatched hardware will then be safe.
"no migration network configured" warnings in the log
Not fatal, but worth fixing: without an explicit migration network set under Datacenter → Options, migration traffic falls back to the cluster's default network, which may also be carrying Corosync traffic. Configure a dedicated migration CIDR to avoid migration jobs interfering with cluster heartbeat traffic.
Configuring a Dedicated Migration Network
By default, Proxmox VE routes migration traffic over whatever network carries cluster communication, which is fine for a small lab but risky once you're moving multi-gigabyte memory images regularly in production. To pin migration traffic to its own network:
- Go to Datacenter → Options and edit Migration Settings.
- Set Network to the CIDR of the interface you want migrations to use, for example
10.10.20.0/24if that's the subnet your dedicated 10 GbE migration NICs sit on. - Optionally set Type to
insecureif you want to skip the SSH-tunnel encryption step for the memory transfer on a network you already trust and isolate physically — this trades a small amount of confidentiality for meaningfully higher throughput, so only do this on a private, non-routed migration VLAN.
You can verify which network a migration actually used after the fact by checking the task log — the initial lines of a migration task report the source and destination IP addresses being used for the transfer, which should match the migration network's subnet rather than your management or VM-facing network.
Verifying a Migration Succeeded
A clean TASK OK in the log is the first signal, but it's worth confirming a few more things after any migration you care about:
- Confirm the VM is actually running on the new node —
qm status <vmid>run against the target node should reportstatus: running, and the VM should no longer appear as running when you check the source node. - Check guest-side connectivity — ping the VM and confirm any long-lived services (databases, web servers) are still accepting connections rather than having silently wedged during the pause.
- Re-check disk placement for local-storage migrations —
qm config <vmid>should now show the disk pointing at the target storage ID you specified, confirming the mirror completed and the config was updated, not just that the transfer looked successful in the log. - Watch for a lingering lock — if a migration is interrupted mid-flight (node reboot, network drop), the VM can be left with a stale migration lock.
qm unlock <vmid>on whichever node currently owns the configuration file clears it so you can retry.
Best Practices
- Standardize CPU type across the cluster — pick the newest common
x86-64-vNbaseline your hardware supports and use it for every VM, rather than mixinghostwith portable types. - Keep VM disks on shared storage where practical (Ceph, NFS, iSCSI) — it makes migrations faster, lighter on disk I/O, and removes the local-disk-mirroring failure modes entirely.
- Dedicate a migration network separate from Corosync and, ideally, separate from VM traffic — a saturated migration transfer shouldn't be able to starve cluster heartbeat packets.
- Test a migration path before you need it under pressure — migrate a low-priority VM between every pair of nodes at least once so you're not discovering a CPU mismatch or missing storage definition during an actual emergency maintenance window.
- Use node maintenance mode for HA-managed guests instead of migrating them manually one by one, so the HA manager doesn't fight you.
- Set a sensible
--bwlimiton shared production links so a large migration doesn't starve other traffic.
Frequently Asked Questions
Does live migration work between nodes with different CPU brands (Intel and AMD)?
No. Live migration requires the target CPU to support every instruction set feature the VM was started with. Intel and AMD CPUs have fundamentally different feature sets, so migrating a running VM between them isn't supported — you'd need to shut the VM down and start it fresh on the AMD (or Intel) node instead.
Can I live migrate a VM with a snapshot?
Yes, VMs with existing snapshots can be live migrated as long as the snapshot's disk state is on storage the migration process supports (shared, or local storage capable of mirroring). Snapshots taken with the VM's RAM included add extra data to transfer but don't block migration.
What happens to network connections during the final cutover pause?
TCP connections generally survive because the pause is short enough to stay within normal retransmission timeouts, and the VM's MAC/IP addresses don't change. You may see a brief latency spike, but well-configured migrations rarely drop active connections outright.
Is there a way to migrate without any downtime at all, even during the final switchover?
The final switchover pause (typically tens to a few hundred milliseconds) is inherent to how live migration works — some brief pause is unavoidable because the VM's state has to be fully consistent at exactly one point in time before it resumes elsewhere. It's not a true zero-downtime operation, but it's short enough that most workloads never notice.
Can I cancel a migration that's in progress?
Yes — stopping the task from the web UI's task log (or killing the corresponding job via qm unlock plus the task ID after a failure) aborts the migration and leaves the VM running on the original node. The VM is never left in a "half migrated" running state; either the switchover completes or the original stays authoritative.
Does migrating a VM change its VMID or configuration?
No. The VMID, network configuration, and disk contents stay the same — only the physical node (and, for local-disk migrations, the underlying storage location) change.
Conclusion
Live migration is what turns a pile of independent Proxmox VE hosts into an actual cluster you can operate without scheduled downtime windows. The mechanics are straightforward once the prerequisites are met — matching or portable CPU types, reachable shared or mirror-capable storage, and a network that can keep up with your workload's memory churn. Get those three things right, standardize on them across every node you add to the cluster, and migrating a VM becomes a routine, low-risk operation rather than a nerve-wracking one.